Plumbing Installation Guide: How to Install Fixtures, Appliances, and Pipes Safely
Plumbing installation is mostly preparation. You plan the route, match pipe size to fixture demand, and keep supply lines away from drain lines. Get that right and the actual connections go fast.
This guide covers the whole job: pipe materials, fixture rough-in, appliance hookups, water heater placement, and the pressure test that proves your work before you seal anything up.
| Typical pipe sizes | 1/2 in. fixture branches, 3/4 in. main runs |
|---|---|
| Drain slope | 1/4 in. per foot for 2 in. and smaller pipe |
| Supply pressure | 40 to 60 psi is the usual residential target |
| Water heater setting | 120 F for most households |
| Common permits | Water heater swap, new fixture, repipe |
| Test before closing | Air or water pressure hold, then inspect |
What a Plumbing Installation Guide Covers
It covers the full path from planning pipe routes to testing the finished system, including fixtures, appliances, and the code rules that apply to each.
Installation splits into two systems that never share a pipe: supply and drain. Supply lines carry pressurized water in, usually at 40 to 60 psi. Drain lines carry waste out by gravity, which is why slope matters more than pressure.
Every fixture needs three things: hot supply, cold supply, and a drain with a vent. The vent lets air into the drain so water flows instead of gurgling. Skip the vent and you get slow drains and sewer smell.
If the layout of your house is still a mystery, start with home plumbing basics. Knowing where the main shutoff, stack, and cleanouts sit saves hours of guessing.
Permits and inspections are part of the job, not an obstacle. Most US jurisdictions require a permit for a water heater replacement, a new fixture, or any repipe. Inspection happens before drywall, so schedule it early.
How to Plan Pipe Routes and Sizes
Size pipe by fixture demand and route it so drains fall steadily toward the stack while supply lines stay out of freezing zones.
A half-inch branch feeds a toilet, sink, or dishwasher. Run three-quarter inch to a bathroom group or the main trunk. Undersized pipe shows up as pressure drop when two fixtures run at once.
Drains need 1/4 inch of fall per foot for pipe 2 inches and smaller. That is a bubble-level check, not a guess. Too little slope clogs, too much slope lets water outrun solids.
Keep supply lines inside the thermal envelope. Pipes in an exterior wall cavity need insulation or a freeze-protection plan. In cold states, that single decision prevents most winter burst repairs.
Angle stops and shutoffs belong at every fixture. A $6 valve at the sink turns a future repair into a ten-minute job instead of a house-wide shutdown.
Choosing Pipe Materials: Copper, PEX, and CPVC
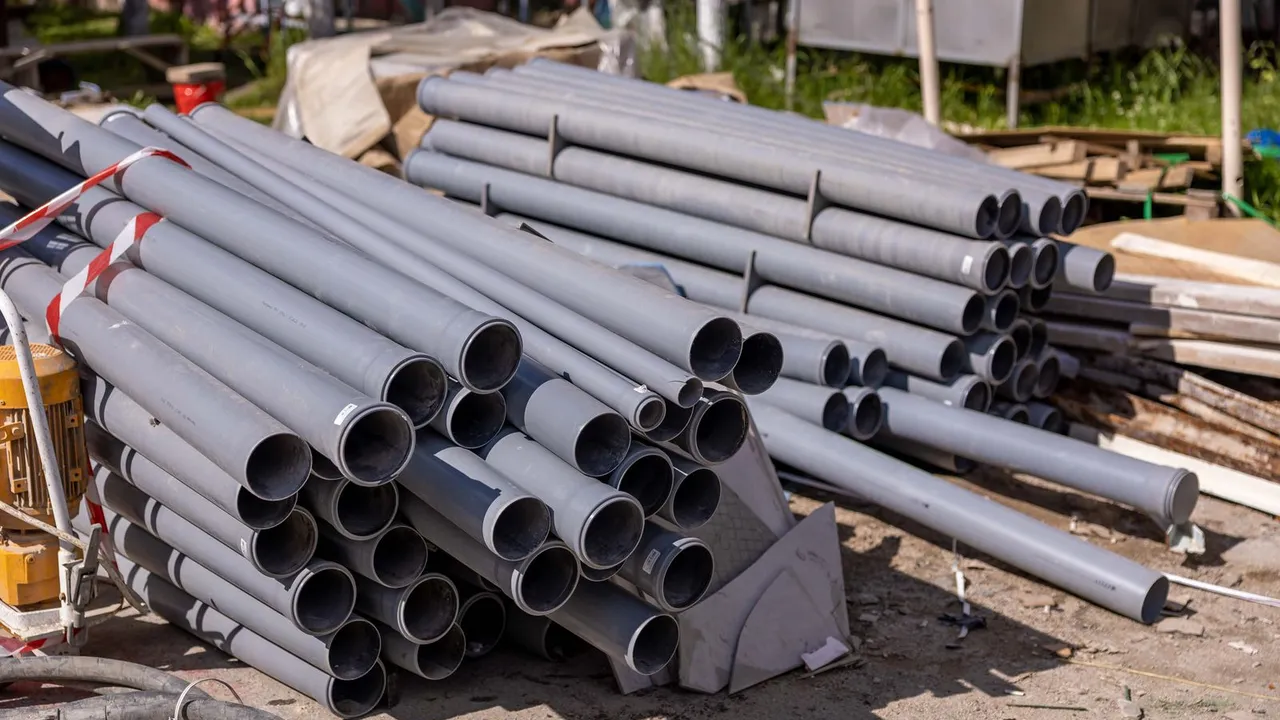
Copper lasts decades and handles heat, PEX is fast to run and freeze-tolerant, and CPVC is cheap for supply lines where code allows it.
Copper is rigid, solders or presses together, and tolerates hot water well. It costs more and takes skill. If you go this route, learn how to solder copper pipes before you cut into a live line.
PEX bends around corners, needs no torch, and survives a freeze better than metal. It cannot be used outdoors in sunlight and needs the right fittings for each connection type. Compare the tradeoffs in PEX vs copper piping.
CPVC is solvent-welded like PVC but rated for hot water. It gets brittle over time and is not allowed in every jurisdiction. Check your local code before buying.
Whichever you pick, keep one material per system where possible. Mixed metals need dielectric unions to stop galvanic corrosion at the joint.
Rough-In: Setting Fixtures Before Walls Close
Rough-in means positioning drain and supply stub-outs at the right height and depth so the finished fixture drops in without shims or adapters.
Toilet flange sits on top of the finished floor, with the closet bend below. A flange too low leaks at the wax ring. Measure floor thickness before you glue anything.
Sink and lavatory drains need a trap arm at the right height for the P-trap, plus a vent within the allowed distance. Shower valves center at roughly 48 inches, tub spouts around 28 inches above the floor.
Shower work is unforgiving because the wall closes over it. replace shower valve covers the rough-in depth and the test you do before tile goes up.
Cap every stub and pressure-test the supply side before drywall. Finding a pinhole leak in an open wall is cheap. Finding it through paint is not.
Installing Toilets, Sinks, and Other Fixtures
Fixture installation is a sequence: set the drain connection, level the fixture, then make supply connections last so you can tighten without fighting the drain.
For a toilet, set the wax ring on a clean flange, lower the bowl straight down, and shim before tightening. Rocking the bowl after the wax seals is what causes leaks. Follow how to install a toilet for bolt and shim order.
Sinks need the drain assembled with the trap aligned to the stub-out, not forced. Hand-tighten compression fittings, then a quarter turn with a wrench. Over-tightening splits ferrules and causes drips.
Faucets and supply lines go on last. Use new braided stainless connectors, not old rubber ones. They fail on a schedule and the replacement is trivial if you are already under the cabinet.
If a fixture is leaking or clogged rather than new, the fix is usually simpler than a full swap. DIY plumbing repairs covers the common failure points.
Appliance and Water Heater Hookups
Appliances need a shutoff, a properly sized supply, and a drain or vent path that meets code, and water heaters add venting and expansion control on top of that.
A dishwasher ties into the sink hot supply and drains through an air gap or high loop into the disposal or sink tailpiece. The high loop keeps dirty water from siphoning back. Step-by-step detail is in how to install a dishwasher.
Washing machine boxes need hot and cold hammer-arrestor valves and a standpipe at least 18 inches tall. Ice makers need a saddle or dedicated valve, never a piercing tap on a finished line.
Water heaters need a pan with a drain path, a temperature and pressure relief valve piped to within six inches of the floor, and expansion control if you have a closed system. Tankless units add condensate and venting rules.
Budget depends on fuel type, tank versus tankless, venting distance, and permit fees, so water heater installation cost varies widely by region and unit.
If a supply line lets go during any of this, shut the main off first and call an emergency plumbing service. Water damage climbs faster than most people expect.
Testing, Inspection, and Long-Term Care
Test supply lines under pressure and drains with a flow test, get the inspection signed off, then maintain the system so the install lasts.
Cap all outlets, pressurize the supply side to at least the working pressure, and hold it. A gauge that drops means a leak somewhere in the run. Drain lines get a bucket test or a full-flow check for leaks at every joint.
Inspection happens before insulation and drywall. Have the permit and drawings on site. Inspectors check slope, venting, support spacing, and protection plates where pipe passes through studs.
After sign-off, insulate hot lines, label the main shutoff, and note valve locations for the next owner. A simple tag on the water heater with the install date helps future service.
Long-term health is mostly prevention: seasonal checks, winterization, and watching for pressure creep. plumbing maintenance tips cover the annual routine.
Frequently asked questions
Do I need a permit to install plumbing in the United States?
Usually yes for new fixtures, repipes, and water heater replacements. Requirements vary by state and city, so check with your local building department before starting. Unpermitted work can complicate a home sale.
Can I install PEX and copper in the same system?
Yes, with the right transition fittings and dielectric protection at metal-to-metal joints. Keep the connection accessible and follow the manufacturer's push or compression fitting instructions.
How do I know my new plumbing does not leak?
Cap the outlets and pressure-test the supply side with air or water, then watch the gauge. For drains, run full flow through every fixture and inspect each joint before closing walls.
What is the biggest mistake in fixture installation?
Forcing connections that do not line up. Straining a trap, flange, or supply line puts constant stress on the joint and it fails later. Adjust the rough-in instead of tightening harder.