How to Replace a Shower Valve: Troubleshooting and Installation
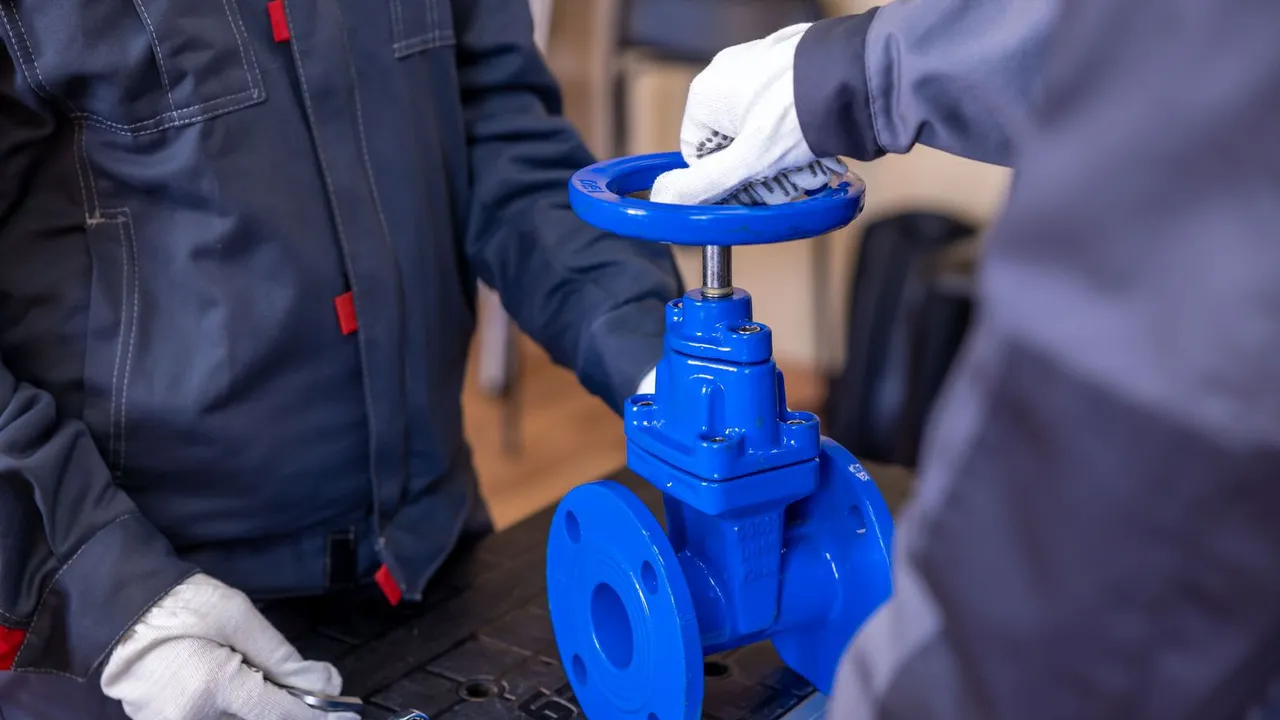
A shower valve that drips, scalds, or refuses to turn is more than annoying. It wastes water and can damage the wall behind the tile. Most failures start at the cartridge, seats, or pressure-balancing spool, not the whole valve body.
You can often replace just the cartridge or trim kit without opening the wall. Full valve replacement means cutting into the wall, soldering or pressing new connections, and matching the rough-in depth. The steps below go from the simplest fix to the hardest, so you can stop at the right point.
| Typical failure point | Cartridge or pressure-balancing spool |
|---|---|
| Simple fix time | 30 to 60 minutes |
| Full valve replacement | 2 to 5 hours |
| Wall access | Required for full replacement |
| Water shutoff | Main or local valve |
| Permit | Often required for full replacement |
What are the symptoms of a failing shower valve?
A failing shower valve shows up as drips, temperature swings, low pressure, or a handle that sticks or spins.
Common symptoms include a steady drip from the spout, water that goes hot and cold on its own, and a handle that will not turn. You may also hear a hammering sound when you shut the water off. These point to worn seals, a bad cartridge, or a failing pressure-balancing spool.
Start by checking the showerhead and supply lines before blaming the valve. A clogged showerhead can mimic low pressure. If the problem is only at this fixture, the valve is the likely cause. For a broader walkthrough of fixture work, see the Plumbing Installation Guide.
How do you replace a shower valve cartridge?
You replace a shower valve cartridge by shutting off water, removing the handle and trim, pulling the old cartridge, and installing a matching new one.
Shut off the main water supply or the local shutoff. Remove the handle screw, pull the handle, and take off the trim plate. Use a cartridge puller if the old cartridge is stuck. Note the orientation before you pull it out.
Clean the valve body and flush debris. Coat the new cartridge O-rings with silicone grease. Slide it in until it seats, then reinstall the trim and handle. Turn the water on slowly and check for leaks at the bonnet nut.
When should you replace the whole valve body?
Replace the whole valve body when the body is cracked, corroded, or the rough-in depth does not match a new trim kit.
If the valve body leaks from the casting or the threaded ports are stripped, a cartridge swap will not help. The same is true when you upgrade to a different brand or a thermostatic valve. You need wall access to cut out the old body and solder or press in the new one.
This is the point where many homeowners call a licensed plumber. The work involves opening the wall, matching the rough-in depth, and testing for leaks under pressure. If you are already opening walls for other work, you may want to review how to install a toilet for similar rough-in and supply line steps.
What tools and parts do you need for a full replacement?
A full replacement needs a new valve body, trim kit, tubing or fittings, a torch or press tool, and wall repair materials.
Gather a basin wrench, adjustable wrenches, a tubing cutter, and emery cloth. For copper, you need a torch, solder, and flux. For PEX or CPVC, you need the matching crimp or glue system. Always buy a valve with a rough-in depth that matches your wall thickness.
Check local code before you buy. Some areas require pressure-balancing or thermostatic valves. A permit may be required for full replacement. If you are also replacing a water heater, the water heater installation cost guide explains how labor and parts add up.
- New valve body and trim kit
- Tubing, fittings, and adapters
- Torch or press tool for copper
- Cartridge puller and silicone grease
- Wall patch and tile repair materials
How do you install a new shower valve step by step?
Install a new shower valve by cutting the wall, removing the old body, setting the rough-in depth, connecting supply lines, and pressure testing.
Turn off the water and drain the lines. Cut an access hole around the valve. Remove the old body with a tubing cutter. Dry-fit the new valve and mark the rough-in depth so the trim sits flush with the finished wall.
Solder or press the connections. Secure the valve to blocking so it does not move. Turn the water on and check every joint under pressure. Patch the wall, install the trim, and test hot and cold settings. A pressure test before closing the wall saves a second repair.
Frequently asked questions
Can I replace a shower valve without removing tile?
Only if you can access the valve from the back side of the wall or through an existing access panel. Otherwise you must cut the tile or drywall around the valve.
How long does a shower valve replacement take?
A cartridge swap takes about an hour. A full valve body replacement takes two to five hours, plus wall repair and drying time.
Do I need a permit to replace a shower valve?
Many jurisdictions require a permit for full valve replacement because it changes the plumbing system. Cartridge and trim swaps usually do not need one. Check with your local building department.