How to Solder Copper Pipes: A Beginner's Guide to Leak-Free Joints
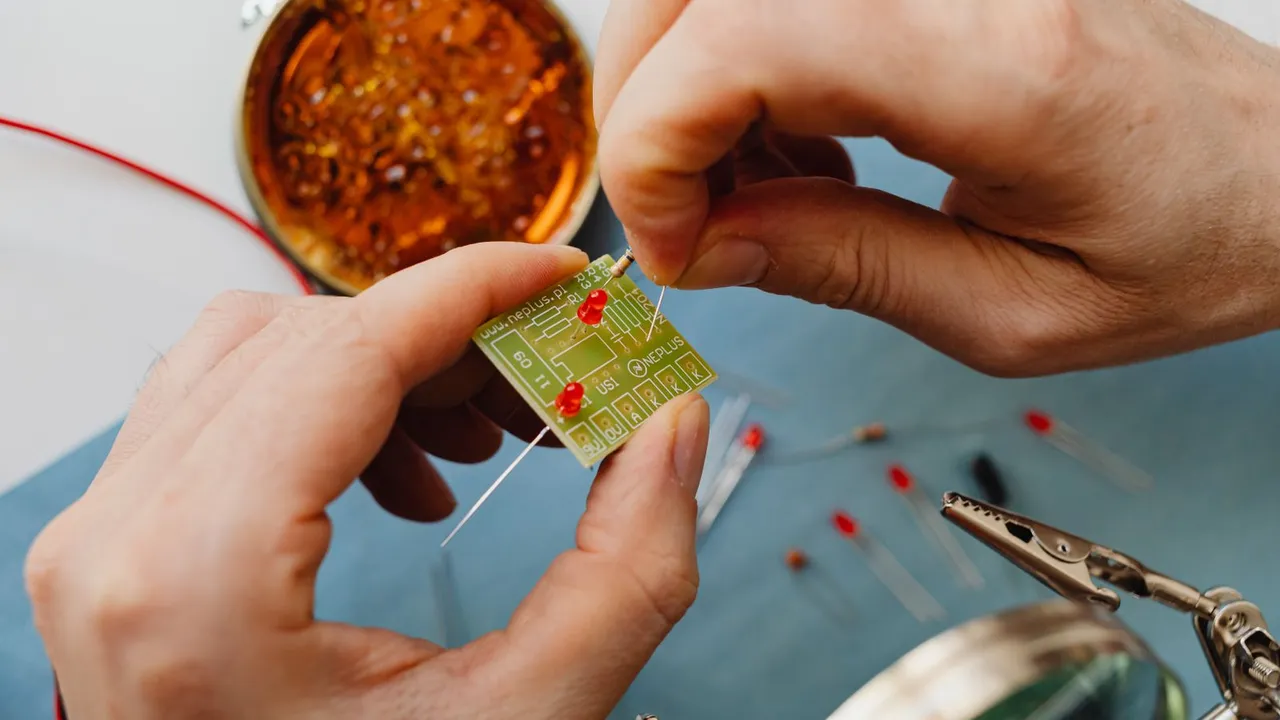
Soldering copper pipe is a controlled heat and capillary action job. You clean the metal, coat it with flux, heat the fitting, and touch solder to the joint. Capillary action pulls molten solder into the gap and locks the pipe to the fitting.
This guide follows the order of the task, from cutting to testing. Every joint you sweat follows the same rhythm. Get the prep right and the torch work becomes simple.
| Best pipe for soldering | Type L or Type M copper, dry and cut square |
|---|---|
| Solder to use | Lead-free tin-antimony or tin-silver |
| Flux | Water-soluble paste flux for potable water |
| Heat source | Propane or MAPP torch with a swirl tip |
| Key variable | Heat control, not solder amount |
| Leak test | Pressurize with water and check joints |
Gather Your Tools and Materials
You need a torch, lead-free solder, water-soluble flux, emery cloth or a fitting brush, a tubing cutter, and a fire-safe surface.
A propane torch with a swirl tip works for most residential copper. MAPP burns hotter and helps on larger diameters. Buy lead-free solder rated for potable water. Paste flux must be water-soluble so it flushes out later.
Add a tubing cutter, deburring tool, emery cloth, and a small brush. Keep a wet rag and a fire extinguisher within reach. If you are planning a larger install, the Plumbing Installation Guide covers fixture and pipe layout before you sweat anything.
Cut and Clean the Copper Pipe
Cut the pipe square, deburr both ends, and sand the outside of the pipe and inside of the fitting until both are bright bare copper.
A tubing cutter gives a square end that seats fully in the fitting. Tighten the cutter a quarter turn per rotation. Deburr the inside with the reamer or a deburring tool so flow stays smooth and the pipe does not scrape the fitting.
Clean about one inch of the pipe end and the full socket of the fitting. Dirty or oxidized copper will not take solder. Sand until the metal shines, then wipe the dust with a clean rag.
- Measure and mark the cut with a pencil or marker.
- Clamp the tubing cutter and rotate it around the pipe.
- Tighten the knob a quarter turn after each full rotation.
- Deburr the inside and outside edges.
- Sand the pipe end and fitting socket to bright copper.
Apply Flux and Assemble the Joint
Brush a thin coat of flux on the cleaned pipe end and inside the fitting, then push the pipe fully into the socket and twist a quarter turn.
Flux cleans the metal as it heats and helps solder flow. Apply a thin, even coat on the pipe and a light coat inside the fitting. Too much flux leaves residue that can corrode the joint later.
Push the pipe into the fitting until it bottoms out. Twist a quarter turn to spread the flux. Wipe off excess flux around the lip. Support the assembly so it does not shift while you heat it.
Heat the Joint and Feed Solder
Heat the fitting body, not the solder, until flux sizzles, then touch the solder to the joint edge and let capillary action pull it in.
Move the torch flame around the fitting to heat it evenly. Touch the solder to the joint. If it does not melt on contact, keep heating. When the fitting reaches temperature, solder flows into the gap and a thin bright line appears around the lip.
Feed solder until a small bead forms all the way around, then pull the flame away. Do not overheat. Overheating burns the flux and creates a rough, porous joint. Let the joint cool untouched.
- Light the torch and adjust to a steady blue flame.
- Heat the fitting body, moving the flame around it.
- Touch solder to the joint edge to test temperature.
- Feed solder until it forms a thin line around the lip.
- Remove the torch and let the joint cool naturally.
Cool, Clean, and Pressure Test
Let the joint cool, wipe off flux residue with a wet rag, then pressurize the line with water and check for leaks.
Do not quench a hot joint with water. Let it cool until the solder sets, usually a minute or two. Wipe the joint with a wet rag to remove flux. Leftover flux attracts moisture and can pit the copper over time.
Close the system and pressurize it with water. Check each joint with a dry paper towel. A slow weep shows as a dark line. If you find a leak, drain the line, cut out the joint, and start over. For other fixture connections, see how to install a dishwasher or install a toilet with the same pressure-test habit.
Frequently asked questions
Can I solder copper pipe with water in it?
No. Water pulls heat away and turns to steam, so the joint never reaches soldering temperature. Drain the line and dry the pipe with a rag or a low flame before you start.
What kind of solder should I use for drinking water lines?
Use lead-free solder labeled for potable water. Tin-antimony and tin-silver alloys are common. Never use old lead-based solder on any water line.
How do I know if a soldered joint is good?
A good joint has a thin, shiny bead of solder around the entire lip with no gaps or lumps. A dull, grainy, or incomplete bead means the joint got too hot or not hot enough. Cut it out and redo it.
Soldering copper comes down to clean metal, the right flux, even heat, and patience. Practice on a few scrap joints before you work on a live line. Once you can read the solder bead, you can sweat any joint in the house. If copper is not your choice, compare it with PEX vs Copper Piping before you commit.