Plumbing Winterization Checklist: Protect Pipes from Freezing and Bursting
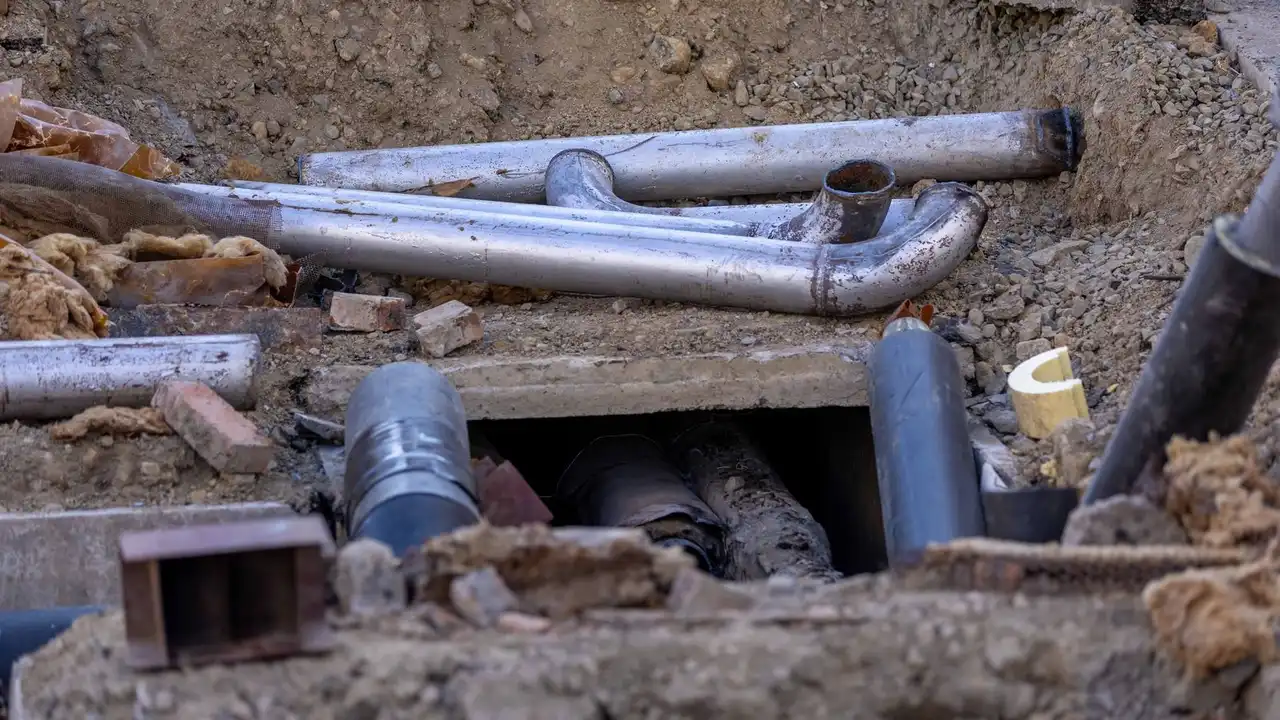
Water expands when it freezes, and a copper or PEX line has nowhere to put that pressure. The pipe splits, often at a fitting or a run against an exterior wall. You usually find out when it thaws and water pours through the ceiling.
Winterizing is a set of small tasks done in order. Most take minutes. Skipping one is what turns a cold snap into an insurance claim. This checklist follows the sequence a plumber would run through a house before the first hard freeze.
For the complete overview, read Plumbing Maintenance 101: Preventive Care, Winterization, and Long-Term System Health.
| Freeze risk threshold | Unheated spaces drop below 32 F, pipes follow |
|---|---|
| Highest-risk pipes | Exterior walls, attics, crawlspaces, garages, hose bibs |
| Water expansion on freezing | Roughly nine percent by volume |
| Best time to start | Before the first forecast below freezing |
| Most common failure point | Fittings and joints, not the straight run |
1. Shut Off and Drain Outdoor Water
Closing the interior valve that feeds each hose bib and draining the line removes the water that freezes first.
Find the shutoff valve inside for every exterior spigot. Close it, then open the bib outside and let it run dry. A frost-proof sillcock drains itself only if the hose is removed, so unscrew hoses and store them.
If you have a sprinkler system, blow the zones out with compressed air or call someone who does. Trapped water in an irrigation line cracks the backflow assembly and the zone valves. This is the same logic behind Plumbing Maintenance 101: remove water before it can freeze.
- Close the interior shutoff for each hose bib
- Open the outdoor spigot and let it drain
- Disconnect and store all hoses
- Blow out irrigation zones with air
- Shut off and drain pool or fountain lines
2. Insulate Pipes in Cold Zones
Foam or fiberglass pipe insulation slows heat loss enough to keep a pipe above freezing during a normal cold snap.
Focus on pipe runs in attics, crawlspaces, garages, and along exterior walls. Use closed-cell foam sleeves sized to the pipe, and seal the seams with tape. Fiberglass wrap works too, but it needs a vapor barrier in damp crawlspaces.
Insulation buys time, it does not add heat. A pipe that already sits at 30 F stays cold longer but still freezes. Pair insulation with the heat and drip steps below. If a line keeps freezing, a plumber serving plumbing tyler tx can trace the air leak or add a heat cable.
3. Seal Air Leaks Around the Envelope
Cold air reaching a pipe is what freezes it, so closing gaps in the building shell matters as much as wrapping the pipe.
Check where pipes pass through exterior walls, rim joists, and foundation sills. Fill gaps with spray foam or caulk. Seal crawlspace vents for the winter and block the gap under a garage door if a supply line runs nearby.
A surprising number of bursts happen because a foundation vent sat open all winter. Cold air blew straight onto a pipe that had insulation on it. The insulation slowed heat loss, but moving air stripped the warmth anyway.
4. Keep Heat in the House and Cabinets Open
Maintaining indoor heat and opening cabinet doors lets warm room air reach pipes that sit against cold surfaces.
Set the thermostat no lower than the mid-50s Fahrenheit, day and night, even when you travel. Do not let a house go cold to save on gas. The repair bill is larger than the heating bill.
Open cabinet doors under sinks on exterior walls so room air circulates around the supply and drain lines. In a hard freeze, a small fan pointed into the cabinet helps. Close garage doors and keep the garage above freezing if pipes run through it.
- Set heat to the mid-50s or higher
- Open cabinet doors under exterior sinks
- Keep garage doors closed
- Leave interior doors open for air flow
5. Drip Faucets and Know the Shutoff
A slow drip relieves pressure inside a pipe that is starting to freeze, and knowing where the main shutoff is limits damage when one bursts.
On nights below freezing, let the faucet farthest from the meter drip at a pencil-lead stream. Moving water freezes more slowly, and an open faucet gives expanding ice somewhere to push. Do the same for any fixture on an exterior wall.
Tag the main shutoff valve now, before you need it at 2 a.m. If a pipe does burst, close the main, open a low faucet to drain, and call a plumber. Routine checks also matter: how to prevent clogged drains keeps your drains clear while you deal with frozen lines.
- Drip the farthest faucet overnight
- Drip fixtures on exterior walls
- Tag the main shutoff valve
- Show everyone in the house where it is
Frequently asked questions
At what temperature do pipes freeze?
Water freezes at 32 F, but a pipe in an unheated space can freeze when outdoor air stays below that for several hours. Wind and open vents speed it up.
Should I leave faucets dripping in winter?
Yes, during hard freezes, a slow drip on the farthest fixture relieves pressure and reduces burst risk. It costs a little water, far less than a repair.
What do I do if a pipe freezes?
Shut off the main, open the nearest faucet, and warm the pipe with a hair dryer or towels soaked in warm water. Never use an open flame, and call a plumber if the pipe has split.
Work the list before the first freeze, not during it. Shut off and drain outdoor lines, insulate what runs through cold zones, seal air leaks, keep heat on, and let a faucet drip on the worst nights. If you want the full schedule, a plumbing maintenance plan cost is worth comparing against the price of one burst pipe, and water heater maintenance belongs on the same fall checklist.